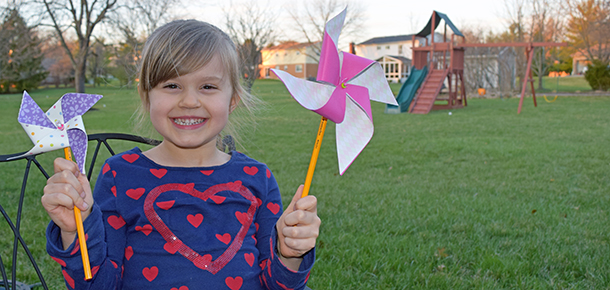
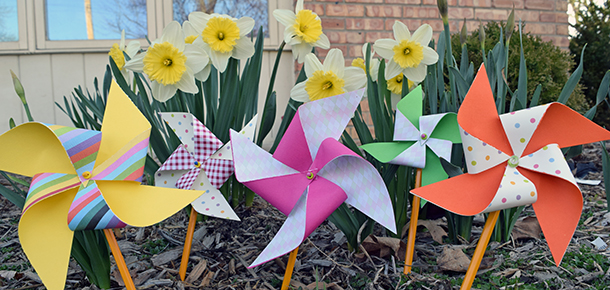
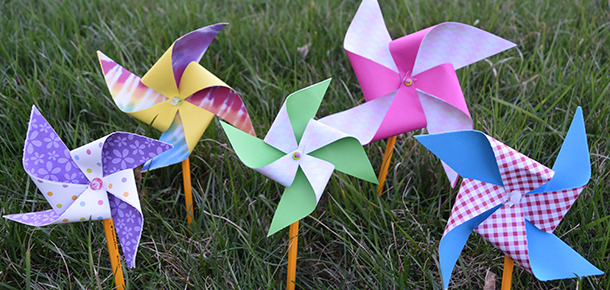
Make your own pinwheels as a fun spring or summer activity! We tested out a do-it-yourself pinwheel craft we found online. It’s fun and fairly simple, but requires some adult supervision.
Here’s what you’ll need:
- Kiddos, of course!
- Fun colored paper
- Pencils with erasers
- Pushpins or pearl sewing pins
- Glue sticks
- Scissors
- Pliers (only if using sewing pins)
- Buttons (optional)
Cut your paper into squares. We used 4×4 and 5×5 inch squares. Glue two squares together back-to-back and let dry. Try mixing and matching different sizes and colors for cool effects.
If you’re using pearl sewing pins, bend the pin at a 90 degree angle with pliers while you wait for the glue to dry.
When your squares are dry, cut diagonally in from all four corners toward the center. Stop about a half inch from the center. Place a small dab of glue in the center of your square and on each point left of where you cut.
Next, fold your glued points together into the center on top of one another. Press all four points together firmly in the center.
Take your pin and place the sharp end through a button, then push the pin through the center of the pinwheel. Make sure the pin goes through all four folded points and the back of the square.
Finally, attach the pin to the eraser. Bent sewing pins should go into the top of the pencil eraser. Pushpins should go into the side of the eraser.
Pro tip: If your pinwheels are having trouble spinning, use a small hole punch to make a hole in the center of the paper and on your folded points where the pin goes through.
When you’re finished, take your crafts outside and plant a pinwheel garden in the yard or decorate your flowerbed.


